# iOS Module Debugging
# Introduction
This guide covers how to debug a native iOS module directly inside Xcode. As an example we will setup the titanium-socketio (opens new window) module.
# Prerequisites
To debug a native iOS module you first need a Titanium test app. It is recommended to use a new plain Titanium app project. You can create a new one with the following command.
ti create -t app
After you created the new app project you need to build it once. This will generate the Xcode project we'll use as the starting point to setup iOS module debugging.
ti build -p ios -b
# Preparing Xcode project
Now that you have a newly generated Xcode project there are a few changes that need to be done to get everything up and running. Open up the generated Xcode project from <project-dir>/build/iphone/<project-name>.xcodeproj.
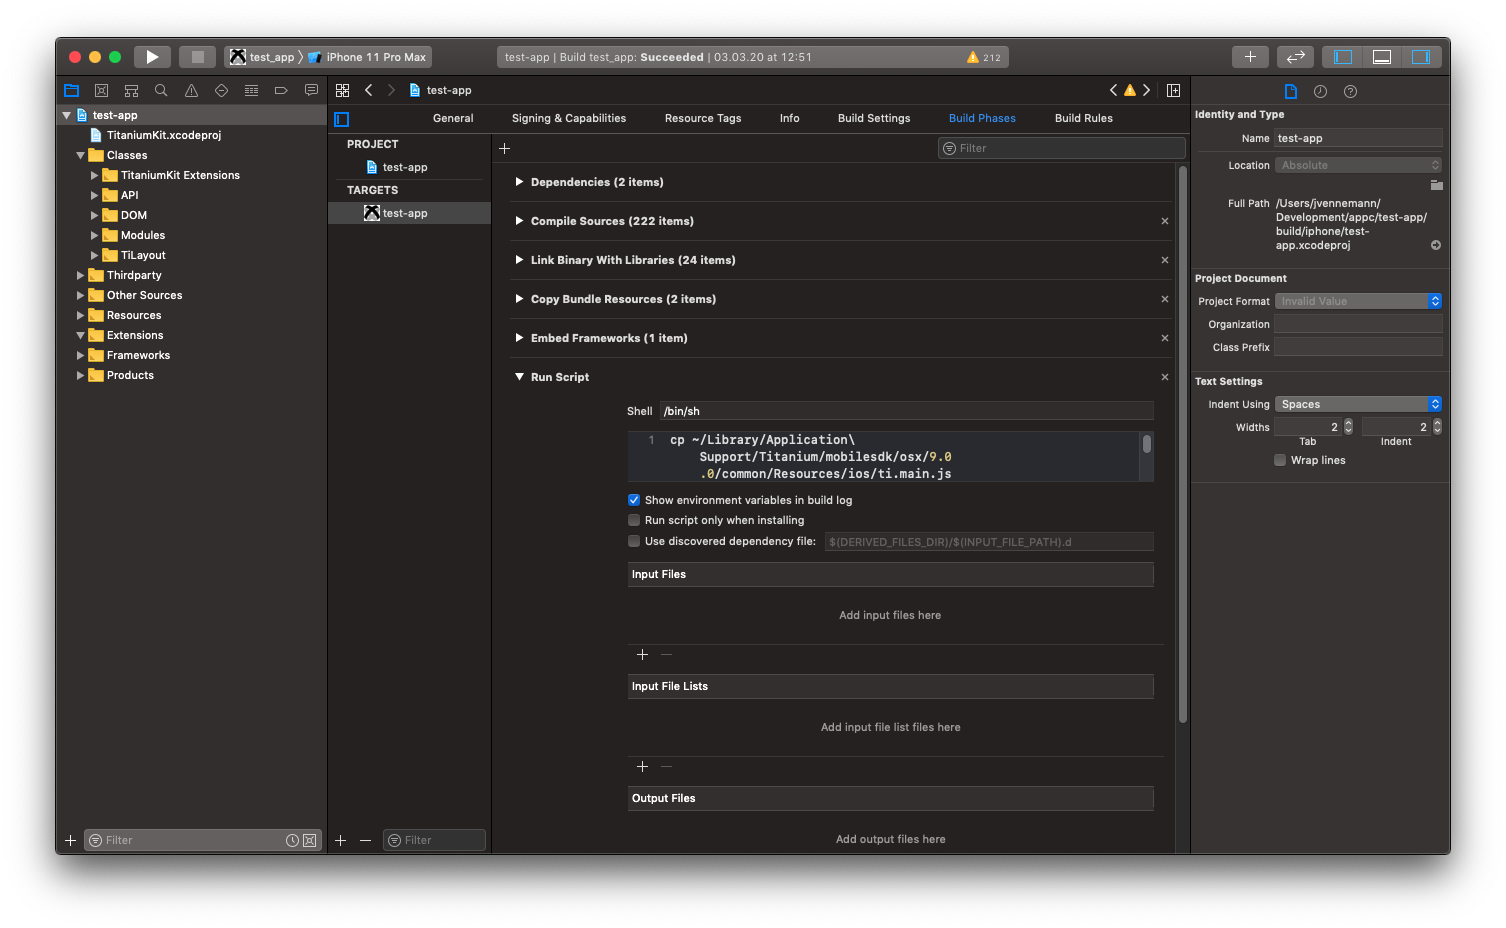
# Add Build Phase
First you need to add a new "Run Script" phase to the app target.
cp ~/Library/Application\ Support/Titanium/mobilesdk/osx/<sdk-version>/common/Resources/ios/ti.main.js ${BUILT_PRODUCTS_DIR}/${CONTENTS_FOLDER_PATH}/ti.main.js
cp ${SRCROOT}/build/Products/Debug-iphonesimulator/${CONTENTS_FOLDER_PATH}/_index_.json ${BUILT_PRODUCTS_DIR}/${CONTENTS_FOLDER_PATH}/_index_.json
Make sure to change the <sdk-version> to the SDK version that you used while running the above ti build command. This will copy two required runtime files into the app bundle, which is usually done by the Titanium CLI.
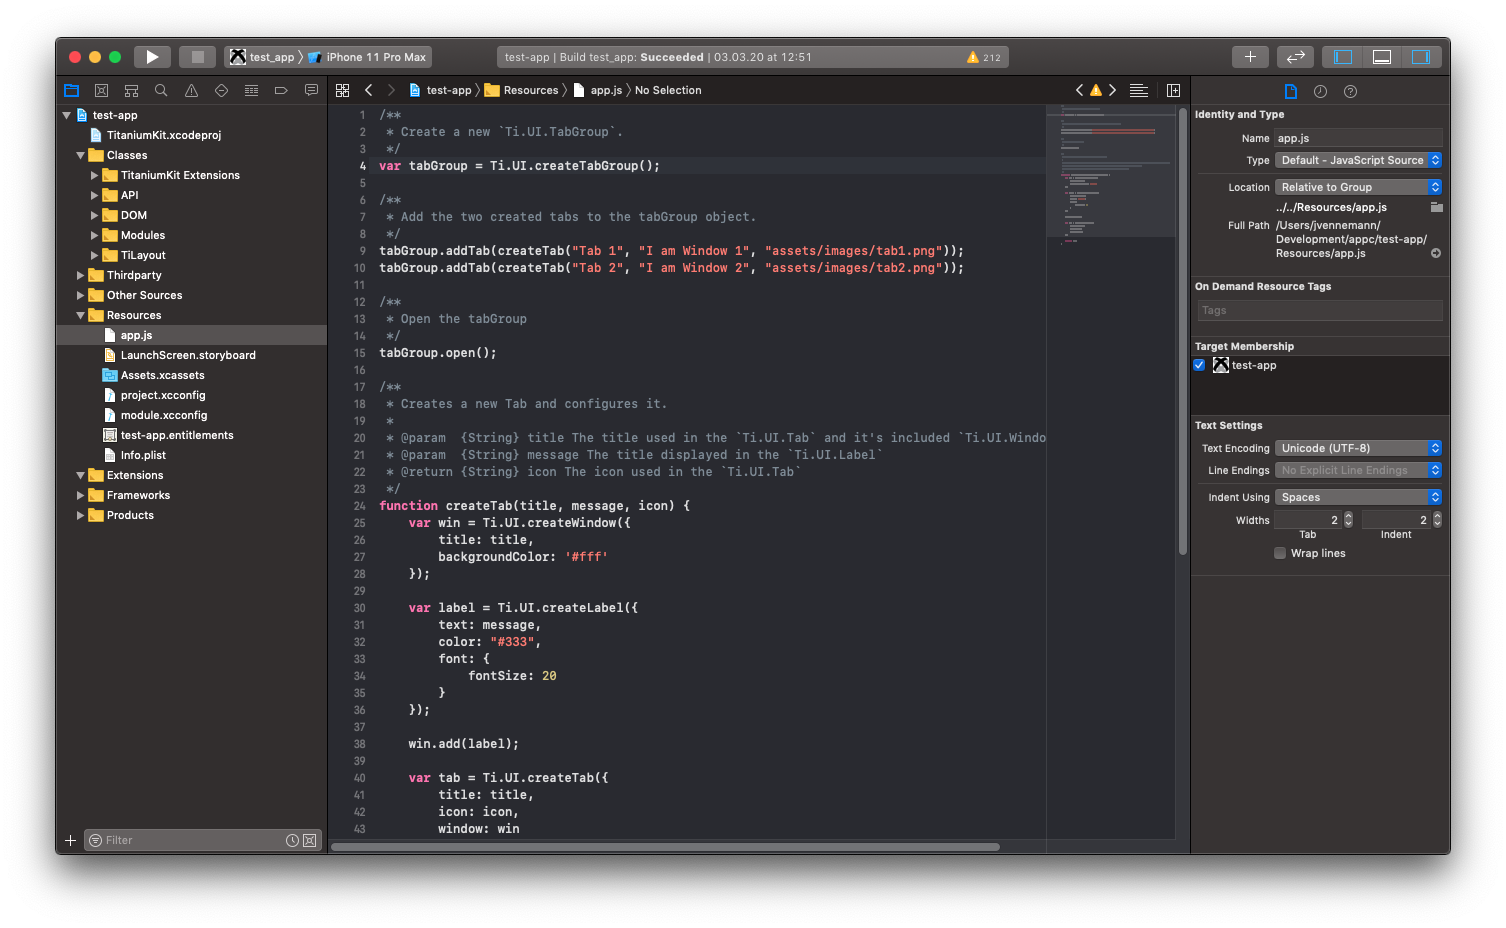
# Add Resources to Copy
Next you need to drag and drop the projects Resources/app.js file into the Xcode project and place it under the Resources group. Do this for all other JS files as well that you may want to require.
💡 NOTE
These files are not getting transpiled like you are used to when building a Titanium app via CLI. You need to make sure that they only contain valid JavaScript for the device you targeting.
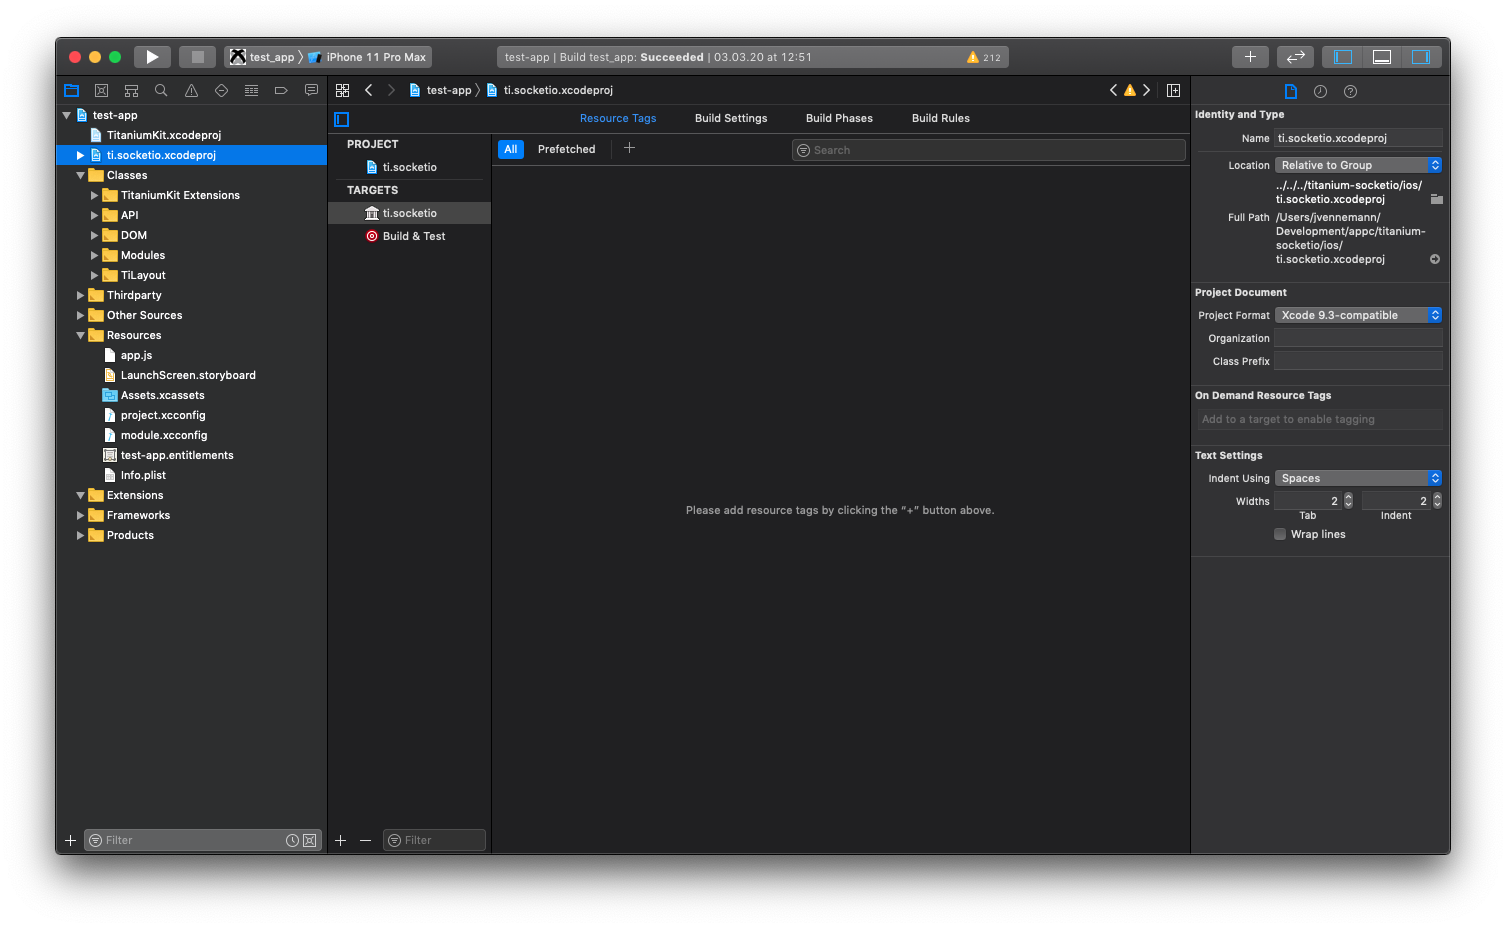
# Adding and linking module
Next up you'll add the module Xcode project as a dependency. Again, simply drag and drop the module's Xcode project into the open Xcode project of your testing app.
Now you need to add the module's library (Objective-C) or framework (Swift) to the main Xcode project. Select the target and under the "General" tab, look for "Frameworks, Libraries, and Embedded Content" and press "+" to add it.

💡 Third-Party Dependencies
If the module you are debugging contains third-party dependencies under its ios/platform folder, you need to add them here as well. In the dialog that pops up after pressing "+", select "Add Other..." > "Add files..." and select the dependencies of your module. You also need to adjust the header and/or framework search path under "Build Settings", so Xcode knows where to find your module's dependencies.
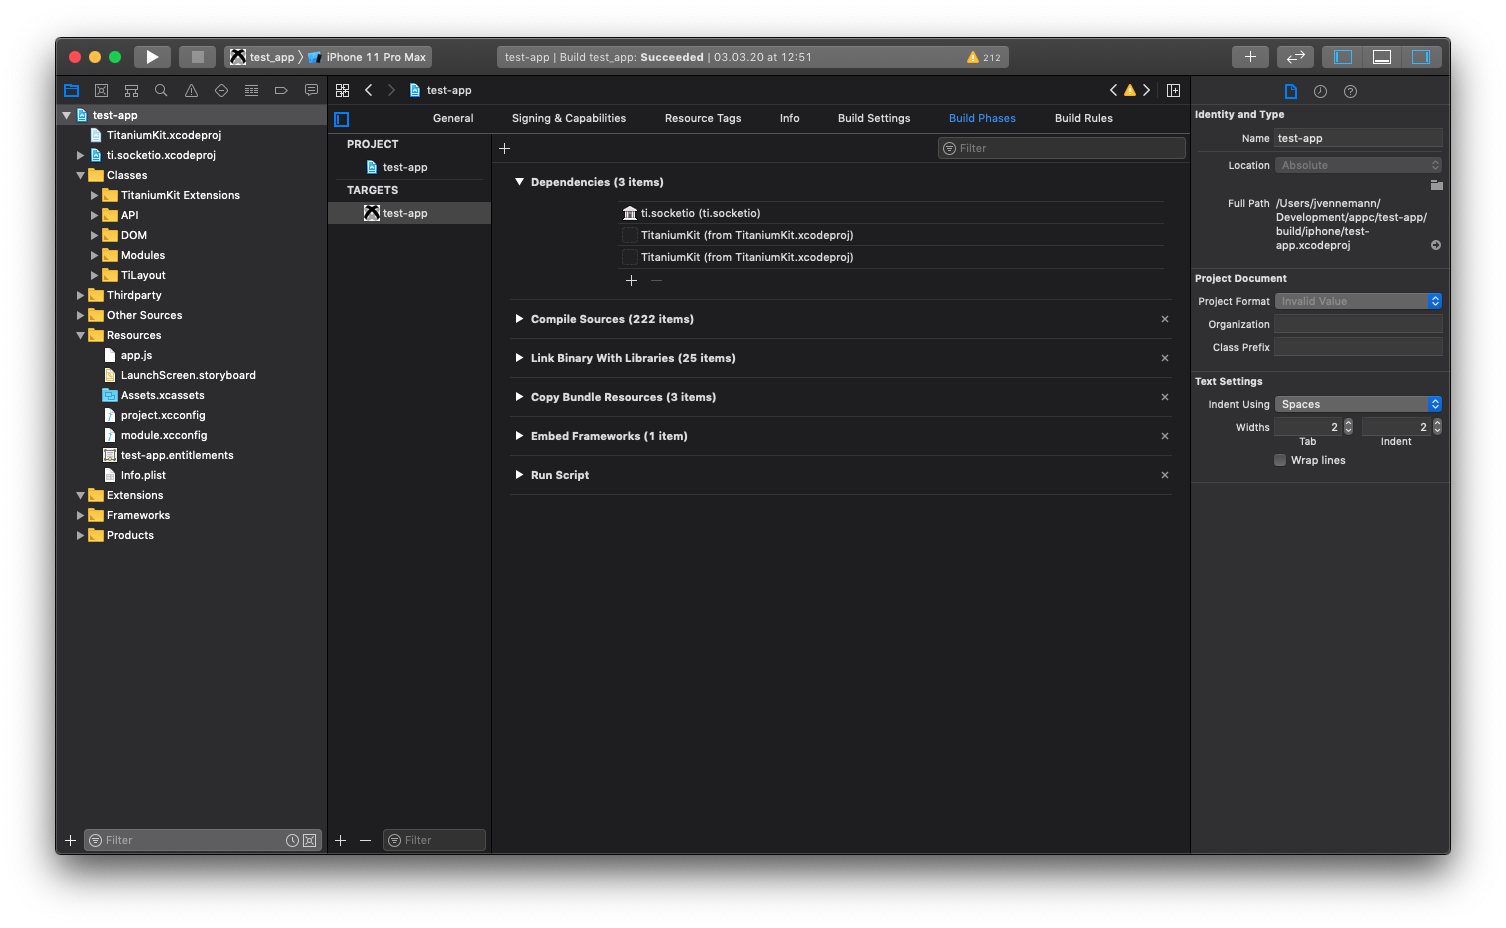
Switch over to the "Build Phases" tab and make sure to add the module project as a dependency so Xcode will build both the app and the module. Press the "+" under "Dependencies" and select the module's library (Objective-C) or framework (Swift) as a dependency.
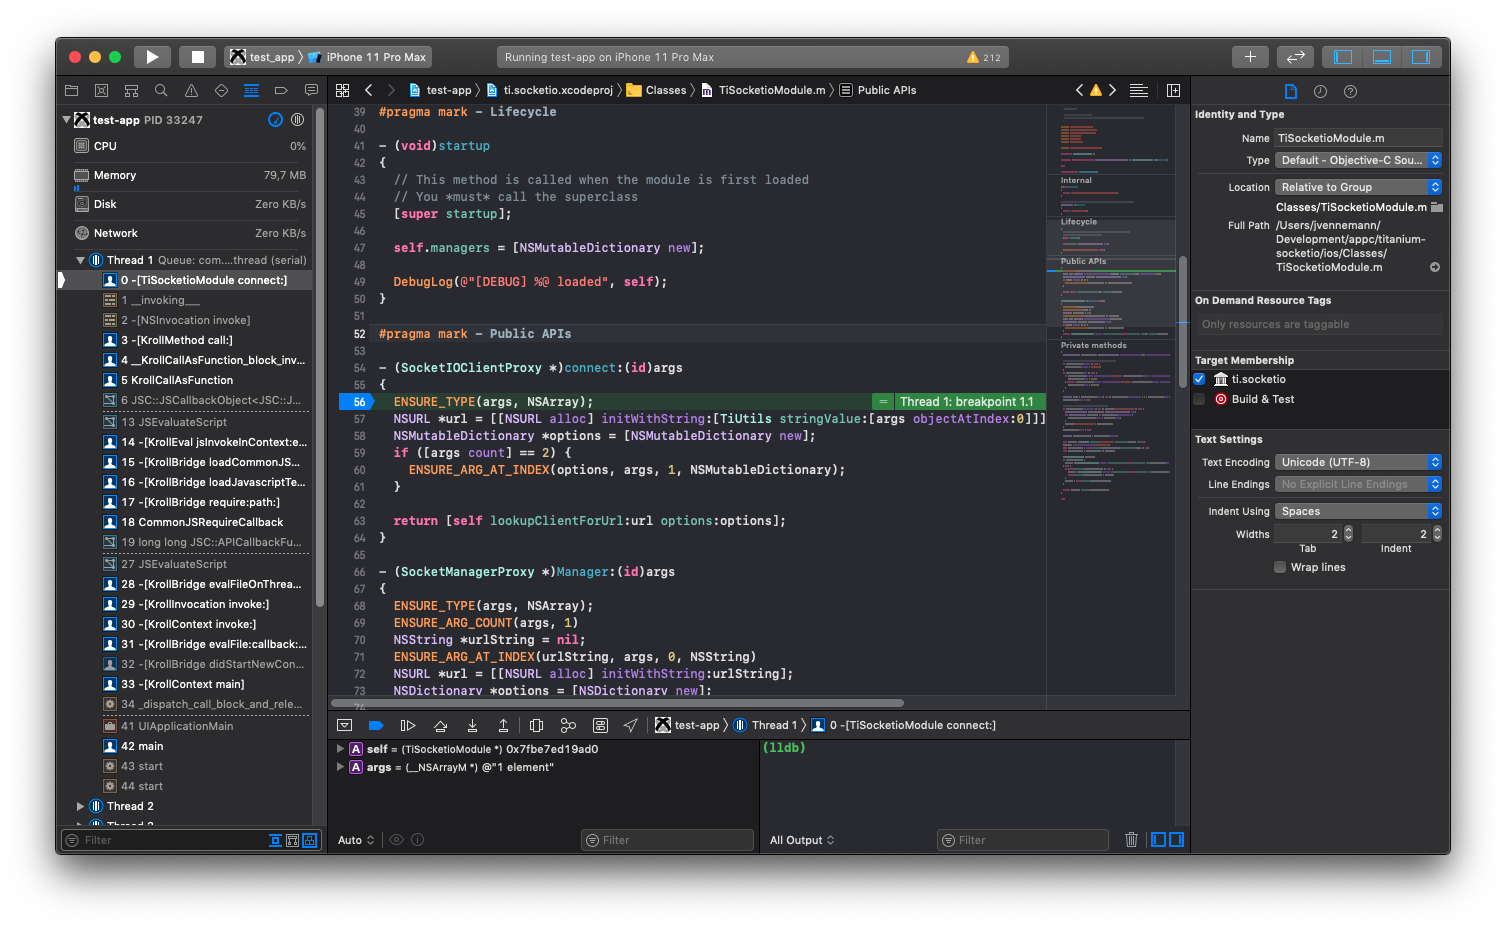
# Build and Debug
You can now build and debug the whole app and your module. Open Resources/app.js and add some code that uses your module from JavaScript.
Resources/app.js
const io = require('ti.socketio');
const socket = io.connect('http://localhost:8080');
Set a breakpoint in the code you want to debug and run the app!